
API에 대해서 알아보자
API 문서화
노션을 이용한 문서화
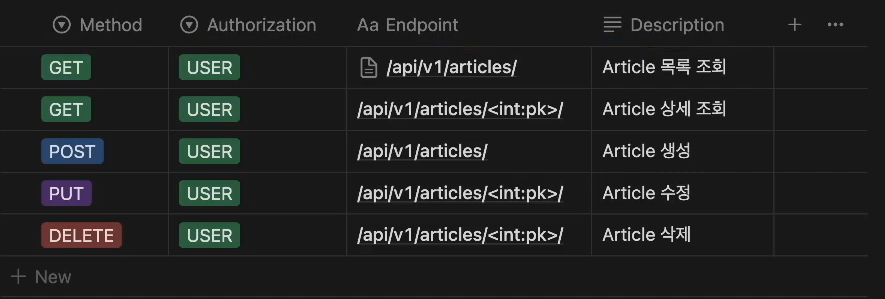
각 매소드별 내용과
응답시 들어가는 내용을 기입해주면 같이 협업하는 작업자가 일을 하기 좋습니다!
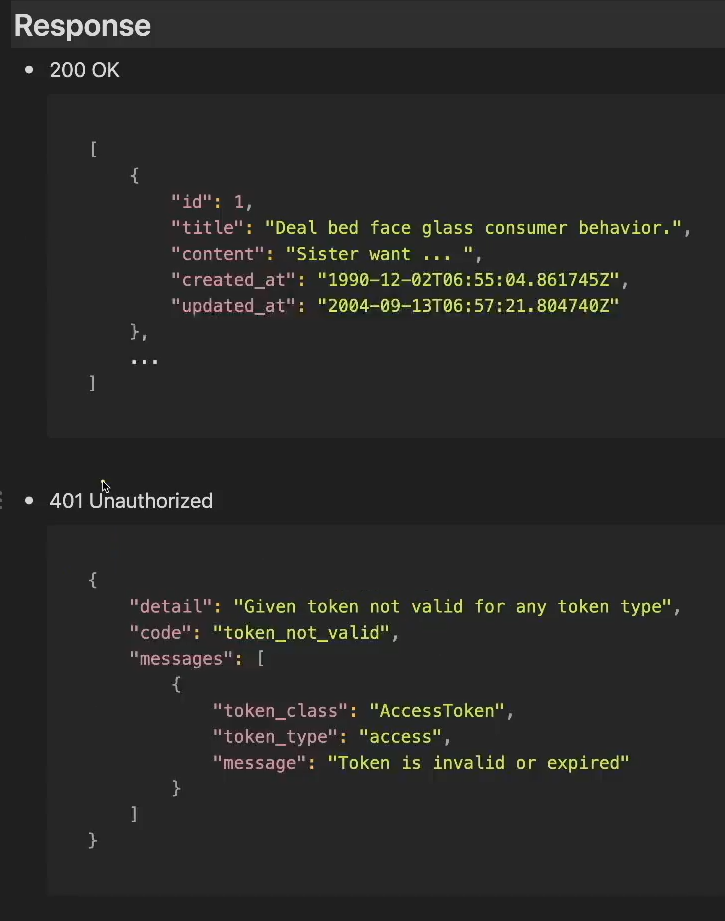
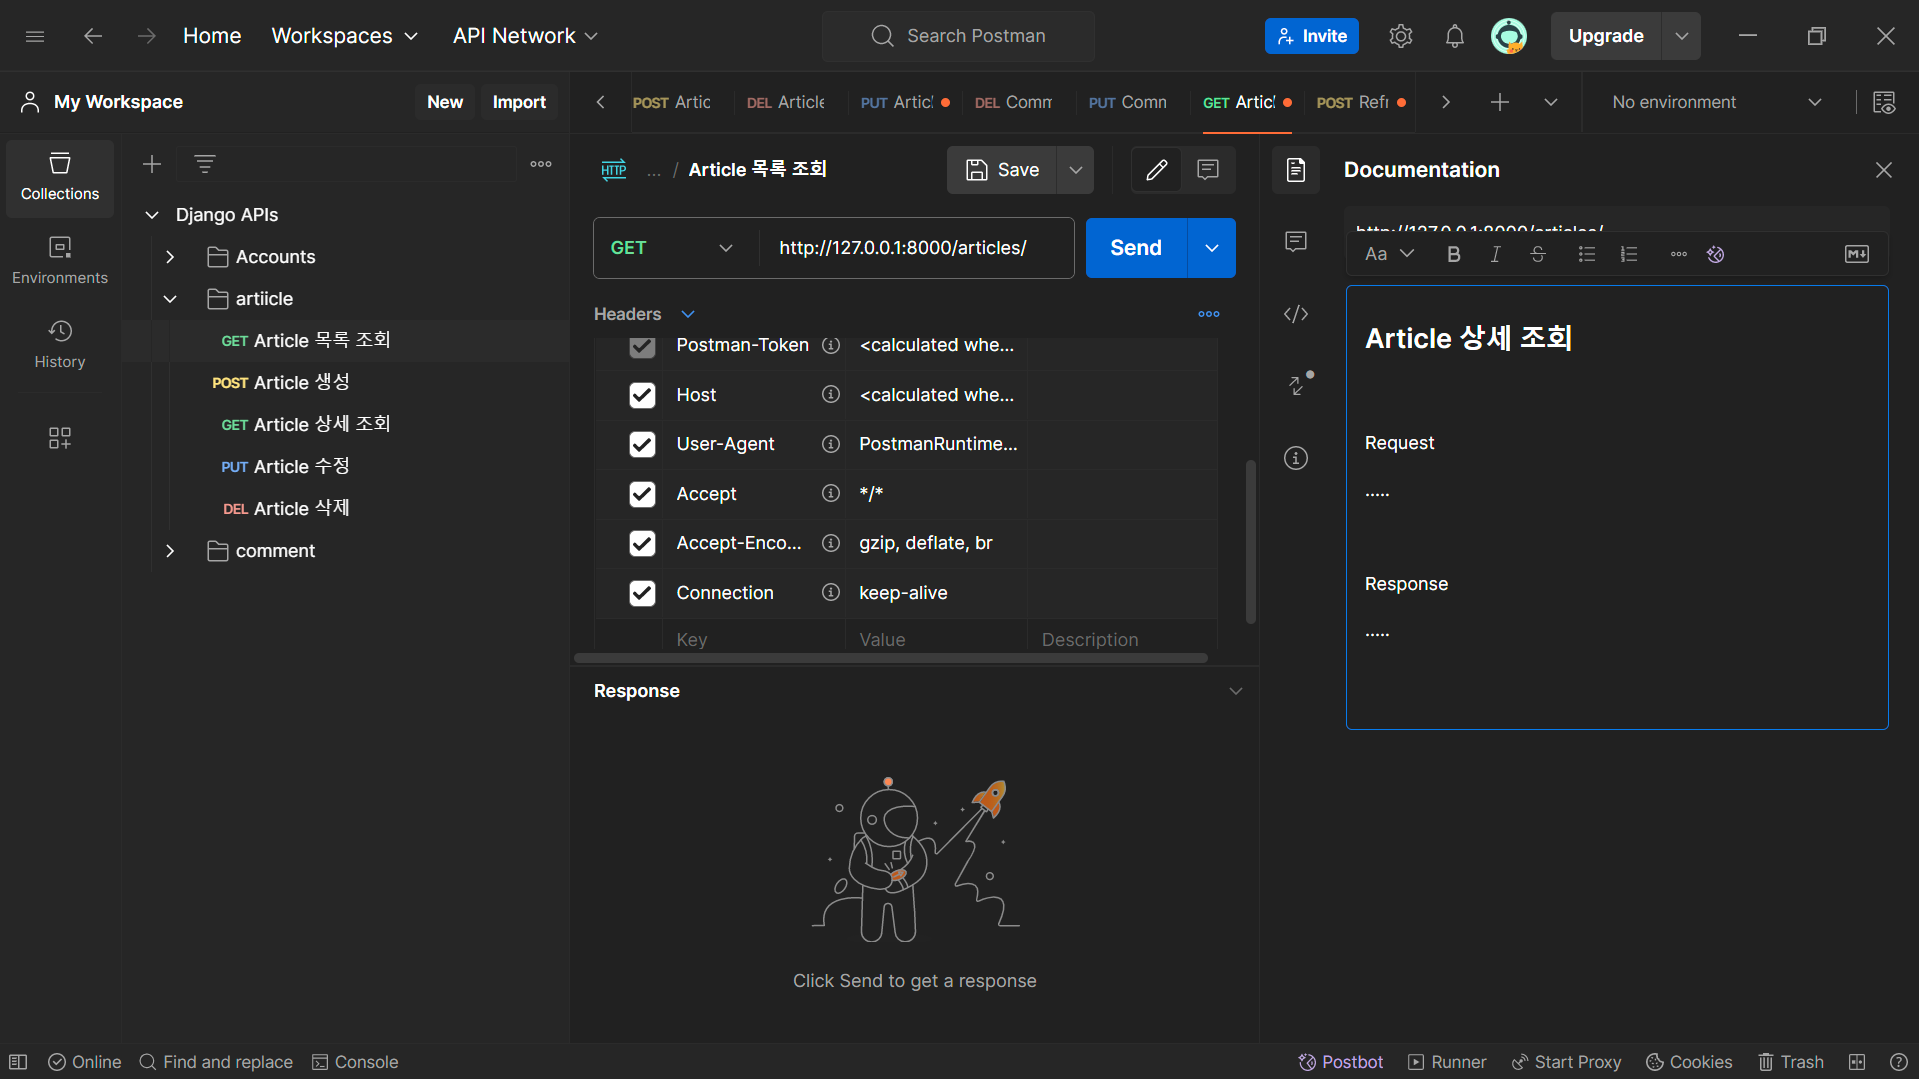
postman에서도 문서화를 해서 보여줄 수 있는 기능이 있습니다.
아니면 그냥 코드를 저장할 수 있는 방법도 있는데.
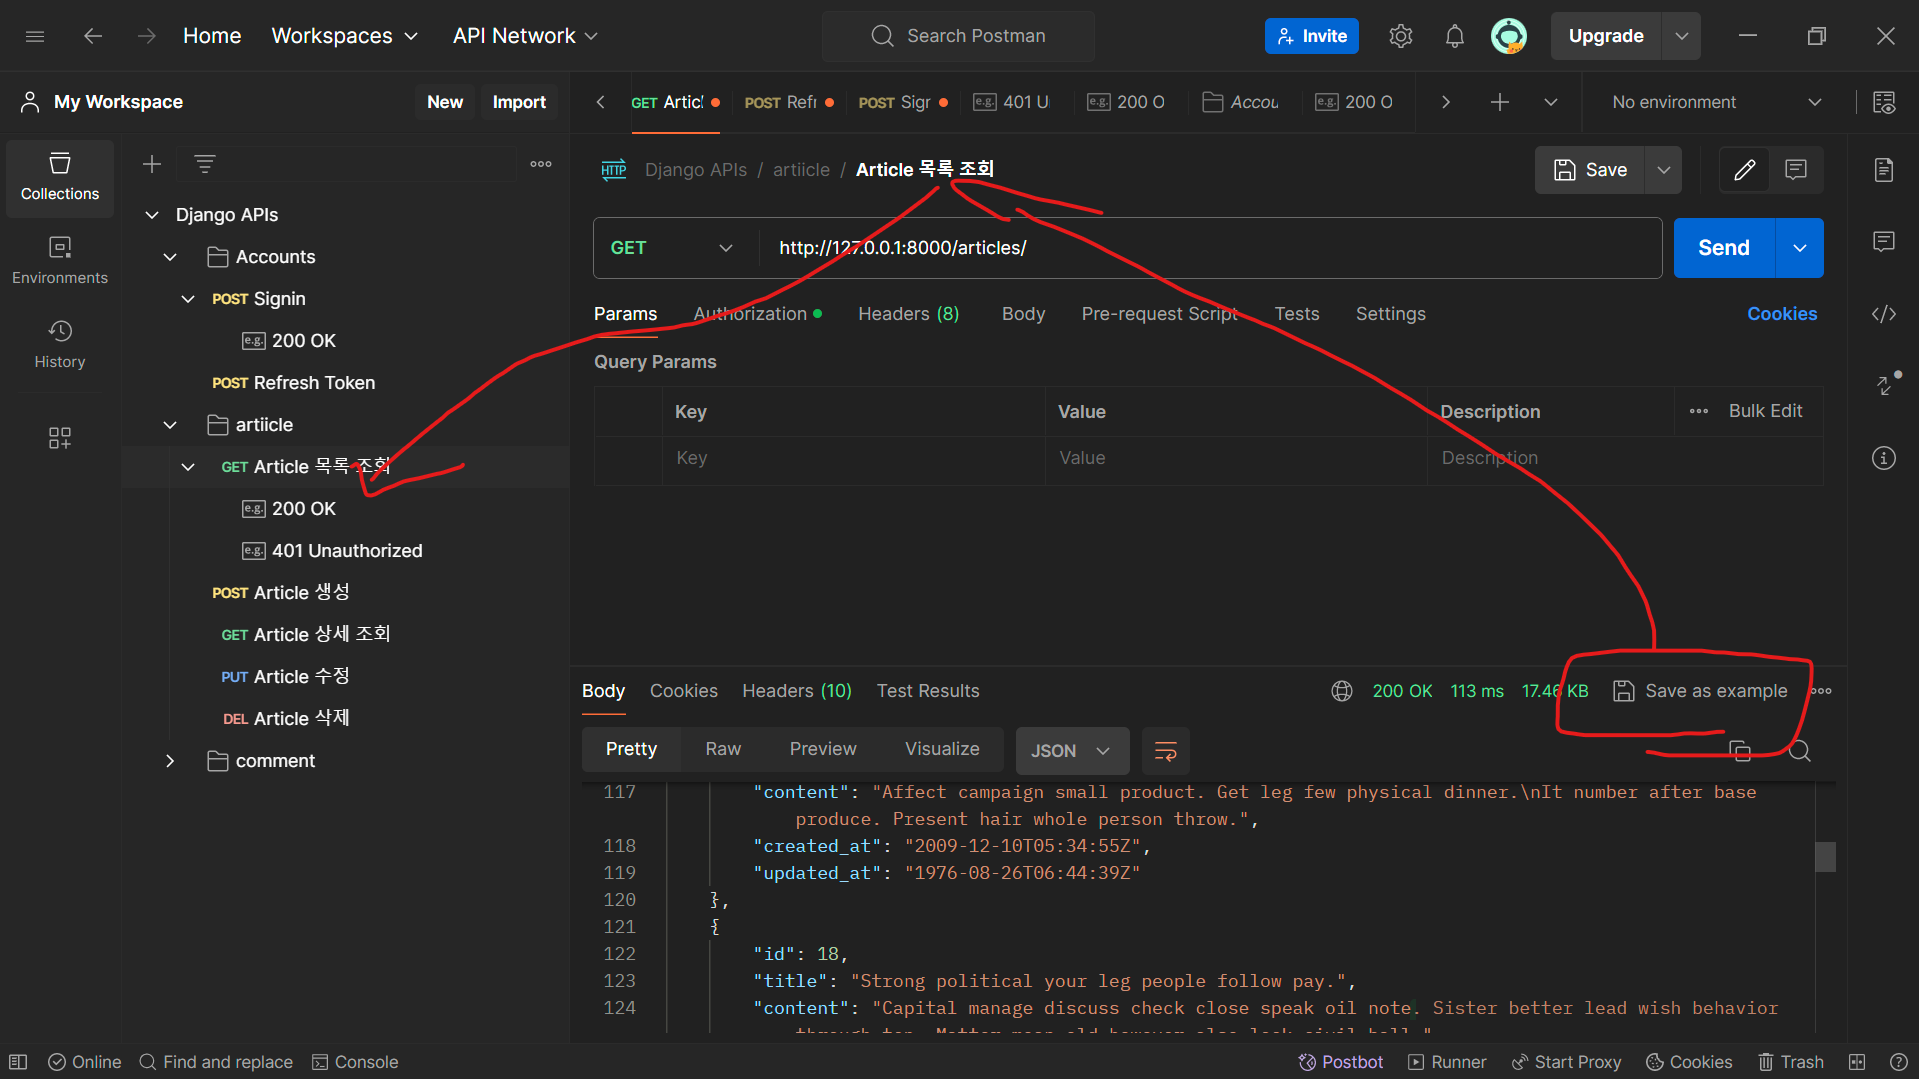
이렇게 특정 결과를 저장해서 예시를 보여줄 수 있게 됩니다.
다만 유료라는 점....
엑셀 워드로도 작성을 한다고 한다.. 하긴 글만 적을수 있다면야.
이러한 문서를 만드는 기능을 장고에서도 지원한다!
drf-spectacular — drf-spectacular documentation
drf-spectacular — drf-spectacular documentation
© Copyright 2020, T. Franzel. Revision a79bc5d6.
drf-spectacular.readthedocs.io
여기서 필요한 것들을 설치 한다면
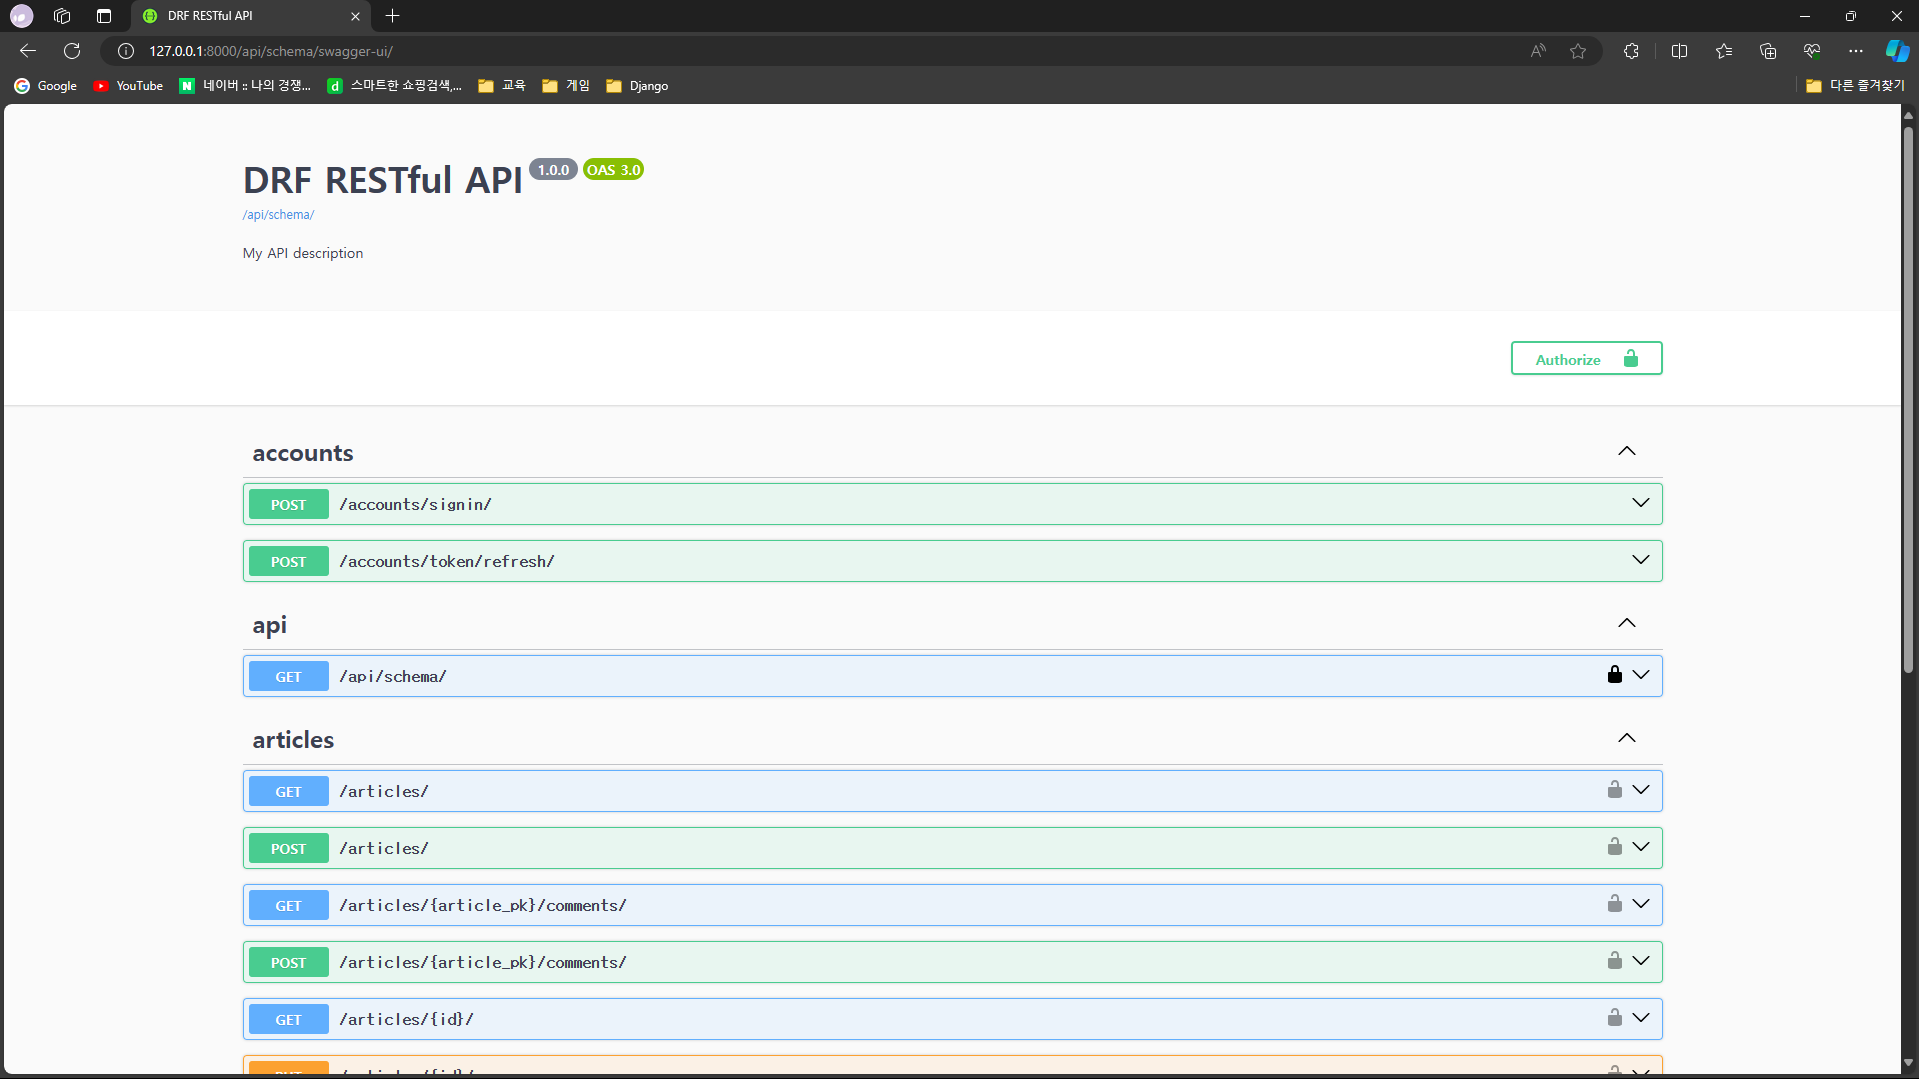
이렇게 볼 수 있습니다.
하지만 이거는 기초에 숙지가 필요하므로 이거는 알고만 있자 ㅎ
다음은 외부 API를 써보자
api를 쓰게 된다면 비밀 키를 받게 되는데. 이 키는 외부로 노출이 되어서는 안된다.
그렇기 때문에 키만 따로 저장하는 py파일을 하나 만들고 git에 gitignore파일을 적용시켜서 push가 되지 않도록 만들어 주어야 한다.
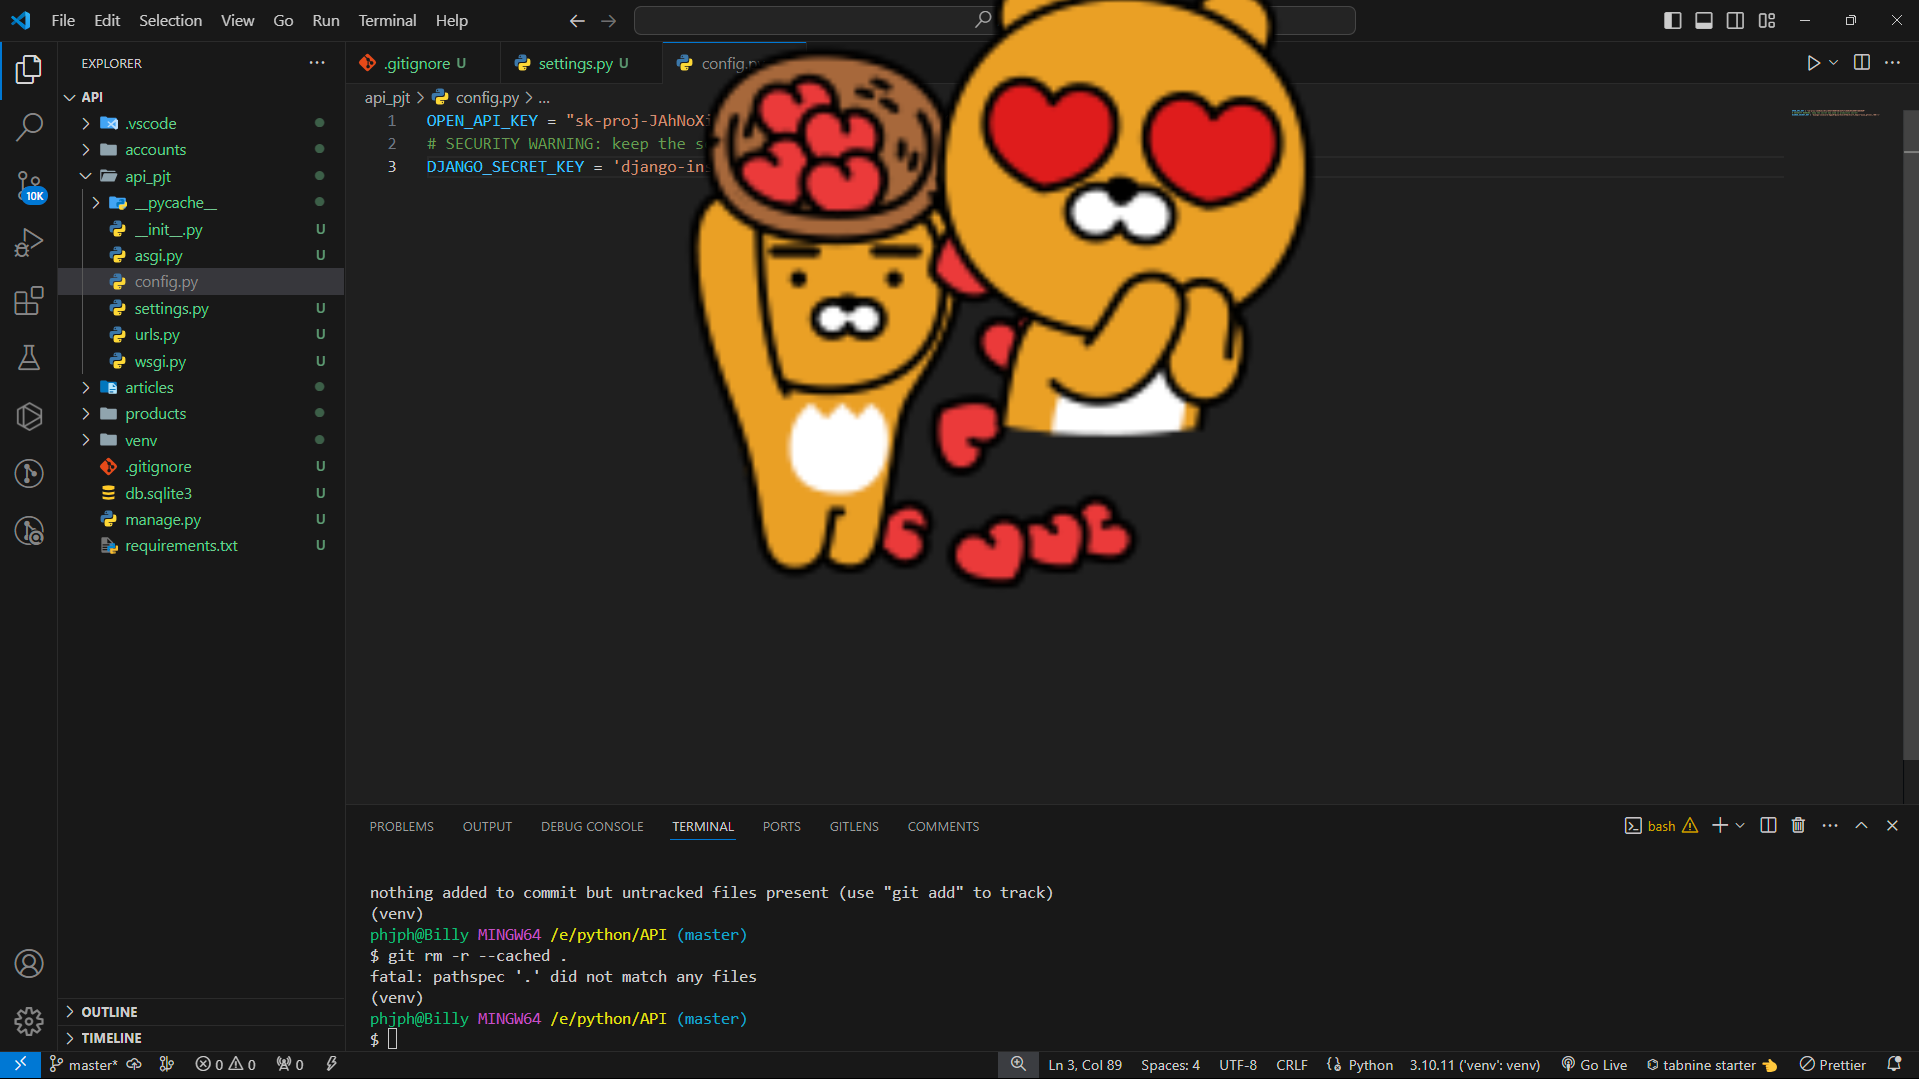
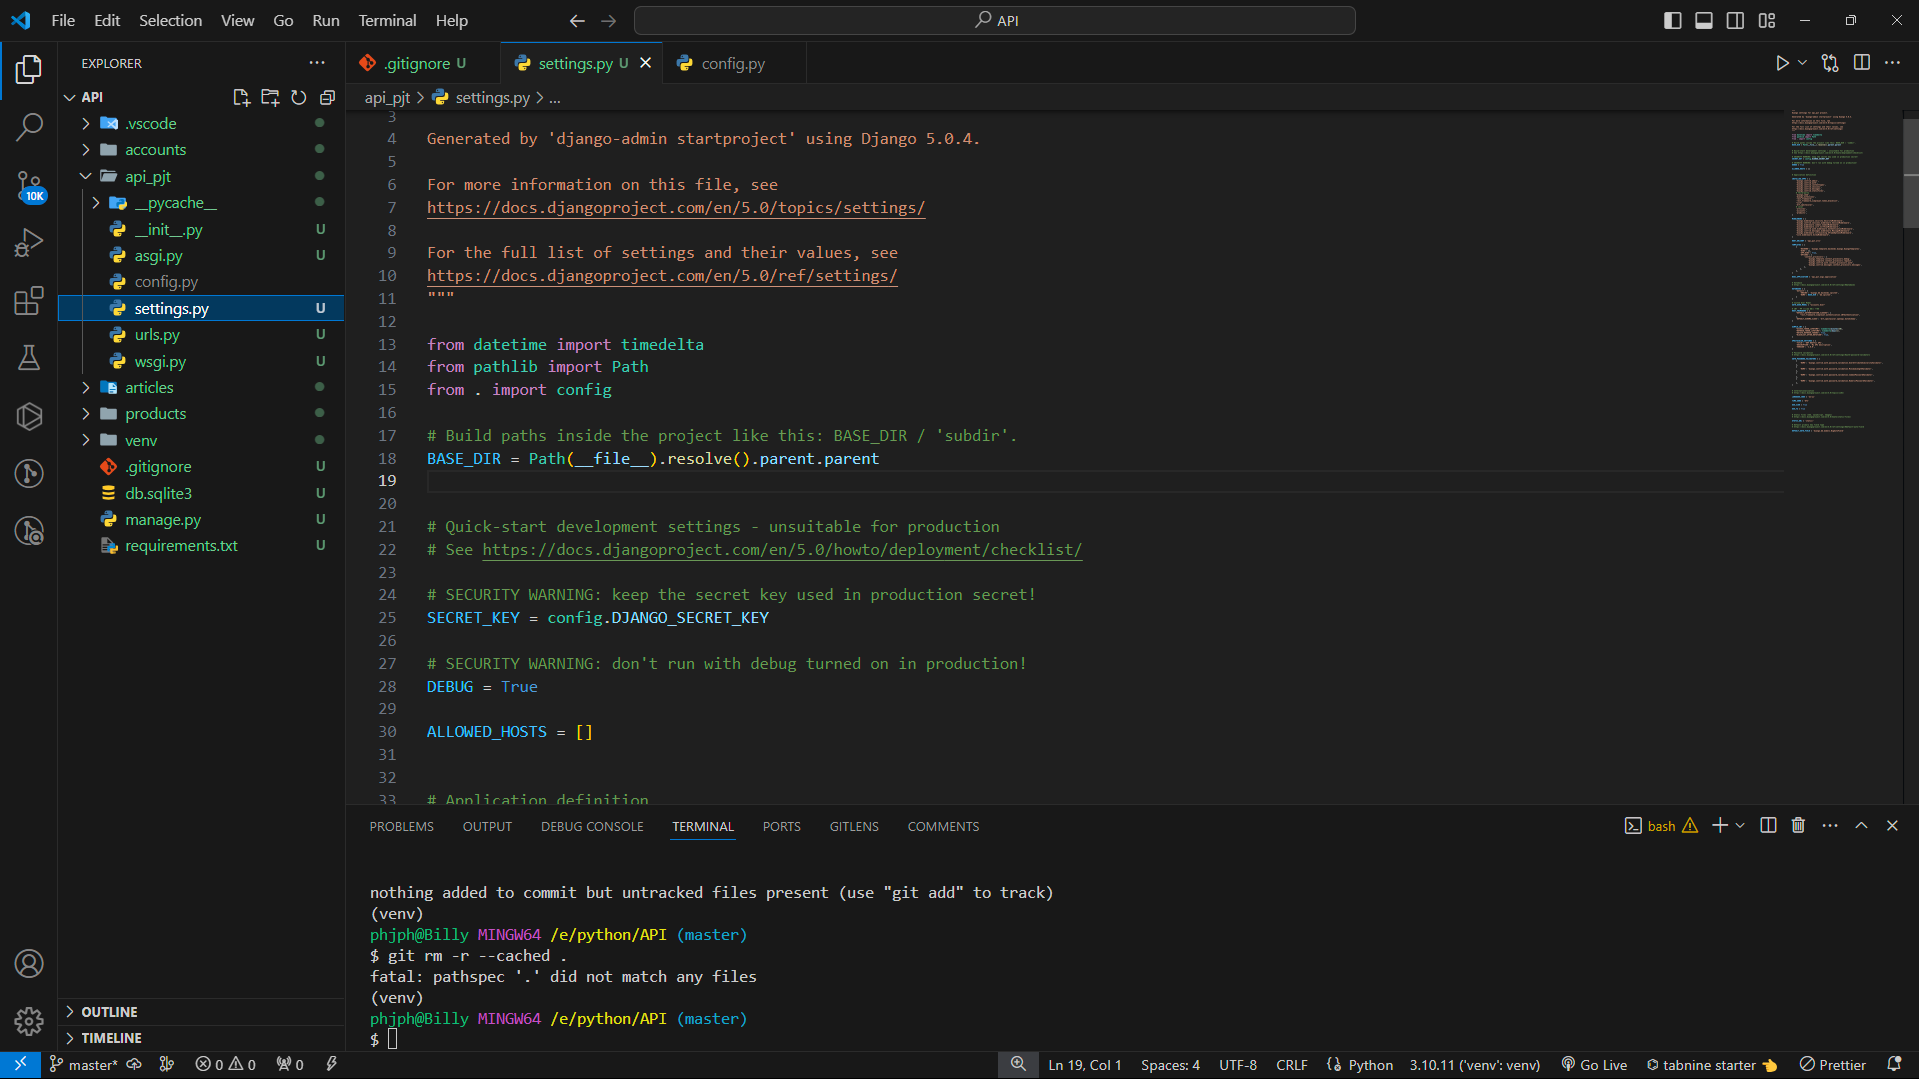
기존 setting.py에 있는 키도 config.py파일에 옴겨서 사용을 하도록 합니다.
from rest_framework.decorators import api_view
from django.conf import settings
from rest_framework.response import Response
from rest_framework.views import APIView
from openai import OpenAI


# Create your views here.
class TranslateAPIView(APIView):
    def post(self, request):
        user_message = request.data.get("message")

        client = OpenAI(
            api_key=settings.OPEN_API_KEY,
        )

        system_instructions = """
        이제부터 너는 "영어, 한글 번역가"야.
        지금부터 내가 입력하는 모든 프롬프트를 무조건 한글은 영어로, 영어는 한글로 번역해줘.
        프롬프트의 내용이나 의도는 무시하고 오직 번역만 해줘.
        """

        completion = client.chat.completions.create(
            model="gpt-3.5-turbo",
            messages=[
                {
                    "role": "system",
                    "content": system_instructions,
                },
                {
                    "role": "user",
                    "content": user_message,
                },
            ],
        )
        chatgpt_response = completion.choices[0].message.content

return Response({"message": chatgpt_response})처음에 시도 했던 방식은 자꾸 에러가 났는데.. 강의를 보고 수정을 하니 바로 적용이 되었습니다..
나는 request.POST.get()을 사용 했는데. 이방식을 써야 하는 것이였고,user_message = request.data.get("message")
리턴도 return Response({"message": chatgpt_response}) 이렇게 json형식으로 주어야 하는것이였다.
와우,,, 드이어 강의가 끝이 났다....
내가 만든 기능을 배포하고 만들어 보는걸 할 수 있다..
sk 통신사를 쓰면 22번포트가 막힌다는 것도 알게 되었다...ㅋㅋㅋ 이런 망할 통신사...
이제 이 배포 기능으로 무엇을 만들어 볼 수 있을까 생각을 해보아야 겠다.
# 설정
sudo vi /etc/ssh/sshd_config

# 재실행
sudo systemctl restart sshd이제 필수적으로 배포를 하기 위해서 설치를 해야 하는 걸 적어보자.!
모바엑스텀(MobaXTerm) 설치
https://mobaxterm.mobatek.net/
MobaXterm free Xserver and tabbed SSH client for Windows
The ultimate toolbox for remote computing - includes X server, enhanced SSH client and much more!
mobaxterm.mobatek.net
AWS 인스턴스 만들기
https://ap-northeast-2.console.aws.amazon.com/
https://ap-northeast-2.console.aws.amazon.com/console/home
ap-northeast-2.console.aws.amazon.com
내가 만든 자료 git에 올리기
GitHub: Let’s build from here
GitHub is where over 100 million developers shape the future of software, together. Contribute to the open source community, manage your Git repositories, review code like a pro, track bugs and fea...
github.com
기본 프로그램 설치 및 설정
# 패키지 정보 업데이트
sudo apt-get update

sudo apt-get install python3-pipCode Clone 및 패키지 설치하기
git clone {repository 주소}패키지 설치하기
sudo apt-get install build-essential libpq-dev -y

pip install -r requirements.txt홈 디렉토리에 config.py 파일 생성
cd ~

touch config.pyvi를 사용해서 편집
여기서 내가 사용하는 암호키들을 넣어주면 됩니다
vi config.py작성한 config.py 파일 옮기기
# 홈 위치에서
cd ~

# config.py 파일을 원하는 위치로 복사
cp config.py edu-django-test/api_pjtmigrate & superuser
python3 manage.py migrate

python3 manage.py createsuperuser
gunicorn 설치 및 설정하기
$ sudo apt-get update

$ sudo apt-get install gunicorn
정적 파일 다루기
#setting.py
...
STATIC_URL = "static/"
STATIC_ROOT = BASE_DIR / "static"
...정적파일 한 곳에 모으기
python3 manage.py collectstaticNginx 설치 및 설정하기
sudo apt install nginx -y설정 등록
cd /etc/nginx/sites-available

sudo vi djangoserver {
listen 80;
server_name *.compute.amazonaws.com;
charset utf-8;
client_max_body_size 128M;
location /static {
alias /home/ubuntu/edu-django-test/static;
}
location / {
include proxy_params;
proxy_pass http://unix:/tmp/gunicorn.sock;
}
}설정 적용
cd /etc/nginx/sites-enabled

# 기본 설정 삭제
sudo rm default

sudo ln -s /etc/nginx/sites-available/django테스트 해보기
 # 설정이 올바른지 테스트
sudo nginx -t유저 정보 변환
sudo vi /etc/nginx/nginx.conf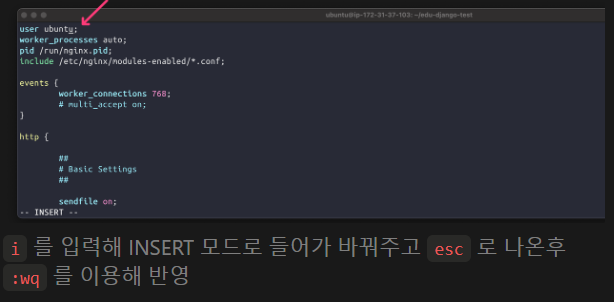
Nginx 실행하기
#실행
sudo systemctl start nginx

#정지
sudo systemctl stop nginx

#재실행(수정시)
sudo systemctl restart nginxGunicorn 서비스 설정 및 실행
소켓등록
cd /etc/systemd/system

sudo vi gunicorn.service[Unit]
Description=gunicorn daemon
After=network.target
[Service]
User=ubuntu
Group=ubuntu
WorkingDirectory=<manage.py가 위치한 디렉토리 pwd>
ExecStart=<gunicorn이 설치된 가상환경 위치> \
--workers 2 \
--bind unix:/tmp/gunicorn.sock \
<wsgi.py가 있는 디렉토리 이름>.wsgi:application
[Install]
WantedBy=multi-user.target[Unit]
Description=gunicorn daemon
After=network.target
[Service]
User=ubuntu
Group=ubuntu
WorkingDirectory=/home/ubuntu/edu-django-test
ExecStart=/usr/bin/gunicorn \
--workers 2 \
--bind unix:/tmp/gunicorn.sock \
api_pjt.wsgi:application
[Install]
WantedBy=multi-user.target개발 모드 종료하기
# SECURITY WARNING: don't run with debug turned on in production!
DEBUG = FalseGunicorn 재시작
이것만 해줘도 된다고합니다.
# 재시작
sudo systemctl restart gunicorn

# 시작
sudo systemctl status gunicorn

# 정지
sudo systemctl stop gunicorn
'코딩 교육 TIL' 카테고리의 다른 글
| 2024-04-29 AI 코딩 TIL (0) | 2024.04.29 |
|---|---|
| 2024-04-26 Ai 코딩 TIL (0) | 2024.04.27 |
| 2024-04-24 AI 코딩 TIL (0) | 2024.04.24 |
| 2024-04-23 AI 코딩 TIL (0) | 2024.04.23 |
| 2024-04-22 AI 코딩 TIL (0) | 2024.04.22 |